

Joining In


Murexes can only be defeated in a Murex Raid, however the Railjack mission requires "Kill Codes" from Ground Assaults to succeed. Each flotilla will display their current progress, as well as the number of active ground and Railjack missions for that instance.
First things first, go to Little Duck and buy an "Oplink". You only need one, it only costs 1,000 credits, and you will need it to participate in the event.
Ground Assault


You must damage the Condrix three times to progress to the next stage.


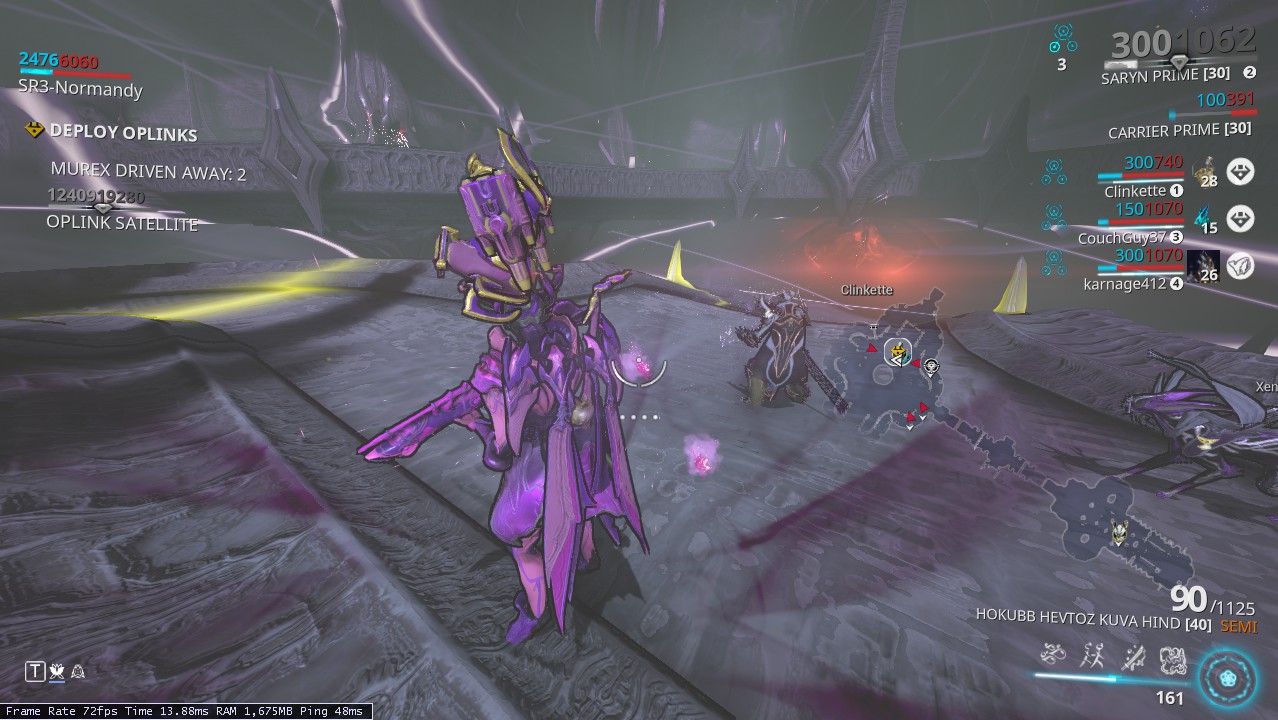
The Oplink will scan the Condrix, progressively creating Kill Codes that Murex Raid squads will spend to defeat the Murexes. The Grineer will attempt to destroy the Oplinks, so you must defend them. All Kill Codes generated for a given Flotilla are treated as a single pool. When a Kill Code you generated is used on a Murex, you receive an auto-generated transmission from the Tenno who used it, which is a feature I quite like. Having more Oplinks active at once causes the Condrix scan to perform faster. Points are awarded for each Kill Code generated, and will increase as you scan more Condrices.
Once the Oplinks have finished their scan, the Condrix will retreat, and another will spawn in another location. The Oplink will be returned to your inventory, however any damage it has taken will accumulate through the mission. If all Oplinks are destroyed, the mission ends automatically. Naturally, over time enemy levels will increase, to a maximum of around 200.
There is a hard maximum of 17 Condrices per mission, for a maximum score of 2295.
The best time I've heard of for a full Ground Assault is about 25 minutes.
Ground Assault Loadout

The three main aspects of Ground Assault are damaging the Condrix, killing its Sentient units, and defending the Oplinks. The former wants damage-boosting Warframes for maximum efficiency, while the latter appreciates defensive Warframes.
For damage boosting Warframes, there are a couple options, for instance Chroma, Rhino and Octavia. Each offers their own unique benefits over the others.
For Sentient killing, Mesa is extremely good as her Peacemakers have no issue targeting and obliterating most targets. I've heard some people say that Baruuk is good as well with Reactive Storm, though do not have enough experience with him to confirm.
For defending Oplinks, a Limbo with high Duration is by far the best option, though Frost is decent as well.
For Condrix damaging, the Redeemer Prime seems to be very popular and quite effective with a Heavy Attack build. A Crit-focused Zaw with Exodia Contagion seems to be very strong as well. In terms of other weapons I've tried so far, my Kuva Hind and Tombfinger Kitgun seem to be the most overall effective. DE have noted that they may be adjusting Condrix health scaling in the future.
EDIT 28/03/2020 - Redeemer Prime is utterly bonkers for popping the Condrix, even without any buffs or full optimisation, my Heavy Attack build was taking down the 17th Condrix with ease.
As Sentients including the Condrix have Ferrite armour and are immune to Status procs, Corrosive is the best damage type to have. Their damage resistances are easily reset with your Operator, Paracesis, or Shedu.The Paracesis is perfectly suited to clearing out regular Sentient enemies too.
Though not as good for actual damage dealing, a Sarpa with Shattering Impact can instantly deplete the Condrix's armour to reduce its damage reduction, in which case you would want to equip your weapons with Viral instead of Corrosive.
Ground Assault Rewards

Murex Raid


Once all nine Kill Codes are uploaded, the Murex is destroyed and you are automatically recalled to your Railjack. After collecting the Oplink Satellite, you will be directed towards the next Murex. Points are awarded for each Kill Code uploaded, with point payout increasing as you destroy more Murexes. Enemy levels also increase over time, to around 150.
You can destroy up to five Murexes in a single mission, for a maximum possible score of around 1800. Annoyingly, the end-of-mission screen doesn't like to appear, so it's rather annoying to verify myself.
My best run time is around 15 minutes for a full Murex Raid.
Murex Raid Loadouts

On the ground side of things, all you need is a high Duration Limbo to protect the Oplinks. Everyone else can focus on killing any Sentient units who board the Railjack, maintaining the Railjack, etc. All other equipment can be to personal preference, keeping in mind that Sentients are your primary enemy.
You will be facing Sentient enemies, and potentially Grineer boarders as well. Again, the Paracesis is a really solid option, alongside any high-Crit weapons with Corrosive

I don't have enough experience with Railjack to say which turrets are most appropriate, but they aren't particularly important for this mission.
Murex Raid Rewards
Every three successfull Kill Codes uploads will award either a Relic, or some Dirac. Naturally you also gain Scarlet Credits equal to the number of points earned.
Prestige Tiers

End-of-Wave Rewards


Naturally, being Warframe, these payouts are currently bugged. I received 6,000 Scarlet Credits for a wave I should only have received 2,000 for, and recently just got 0 Scarlet Credits for a wave that I reached space prestige tier II (minimum 3,000 points/6,000 Scarlet Credits).
Overall Rewards


- Oplink - 1,000 credits. Not a reward, rather it is required to participate in the Operation.
- Ceti Lacera Blueprint - 20,000 Scarlet Credits. New Chain and Whip Melee.
- Basmu Blueprint - 15,000 Scarlet Credits. New Rifle.
- Stance Forma Blueprint - 5,000 Scarlet Credits. Gives a Melee weapon a universal Stance polarity.
- The Ballroom Simulacrum - 5,000 Scarlet Credits. Gives a new Simulacrum area to use.
- Phased/Glyphed/Gilded Clan Sigil - 2,000 Scarlet Credits each. Displays your Clan emblem as a sigil.
- Murex/Earth Console - 5,000 Scarlet Credits. Decorations.
- Common (Bronze) Arcanes - 1,000 Scarlet Credits each.
- Uncommon (Silver) Arcanes - 1,500 Scarlet Credits each.
My Opinions
- Matchmaking is horrendous. Matchmaking is done per Flotilla, rather than globally. As such, you could have 20 players queueing up, but if they're all in 20 different Flotillas, none of them will get matched up.
- End-of-wave rewards depending on 100/100 Murex completion is very poor, considering they are a main source of Scarlet Credits. You could get to tier III prestige for a given Flotilla in both ground and space (which is an immense amount of effort), but if that Flotilla doesn't beat all the Murexes, you get no end-of-wave bonus. Meanwhile, a player like myself who just got the minimum Tier I prestige in a Flotilla that did complete all 100 Murexes gets a solid extra payout. This system pits players against one another in the worst ways, one player completing a Murex means less opportunity for other players to help out and get the end-of-wave bonus. As a single squad can only do so much to push Murex progression, it also incentivises players to join Flotillas that have already made decent progress, and disincentivises helping Flotillas with less progress.
- Without end-of-wave bonuses, Scarlet Credit acquisition is painfully slow. With a fully optimised team, you can complete Ground Assaults in around 25 minutes, for 2295 points, or around 5,500 Scarlet Credits per hour. Having to wait for the end of a wave just to get the influx of Scarlet Credits isn't fun, especially if you're worried about the Flotilla not defeating the wave.
- The missions get extremely repetitive extremely quickly. Ground Assault is a tad more involved, but is essentially half Exterminate half Mobile Defence. Murex Raid is Mobile Defence using the Railjack as a taxi, not even a warship.
- Kill Code transmission seems to be buggy, and the reliance on them to be able to progress Murex Raid missions can be infuriating. There are a number of reports from players setting up their Oplinks in a Murex, in a Flotilla with many Ground Assault squads, yet having to wait for a long time just to get a single Kill Code (or not getting one at all). Nonetheless, I do like the concept of cross-mission interaction.
- The Murex count viewed from Navigation is often inaccurate to the actual status of the Flotilla. I've joined Flotillas that said something like 75/100 Murexes defeated, only to see that they're actually 100/100, or they just say "No Murex Detected". This can make it harder to find a Flotilla you can contribute to, than actually doing the missions.
- All the milestones are Flotilla based, so if you leave for a bit and can't rejoin that Flotilla, you essentially lose some of that progress. This is quite annoying and totally unnecessary.
No comments:
Post a Comment